


QYSMT
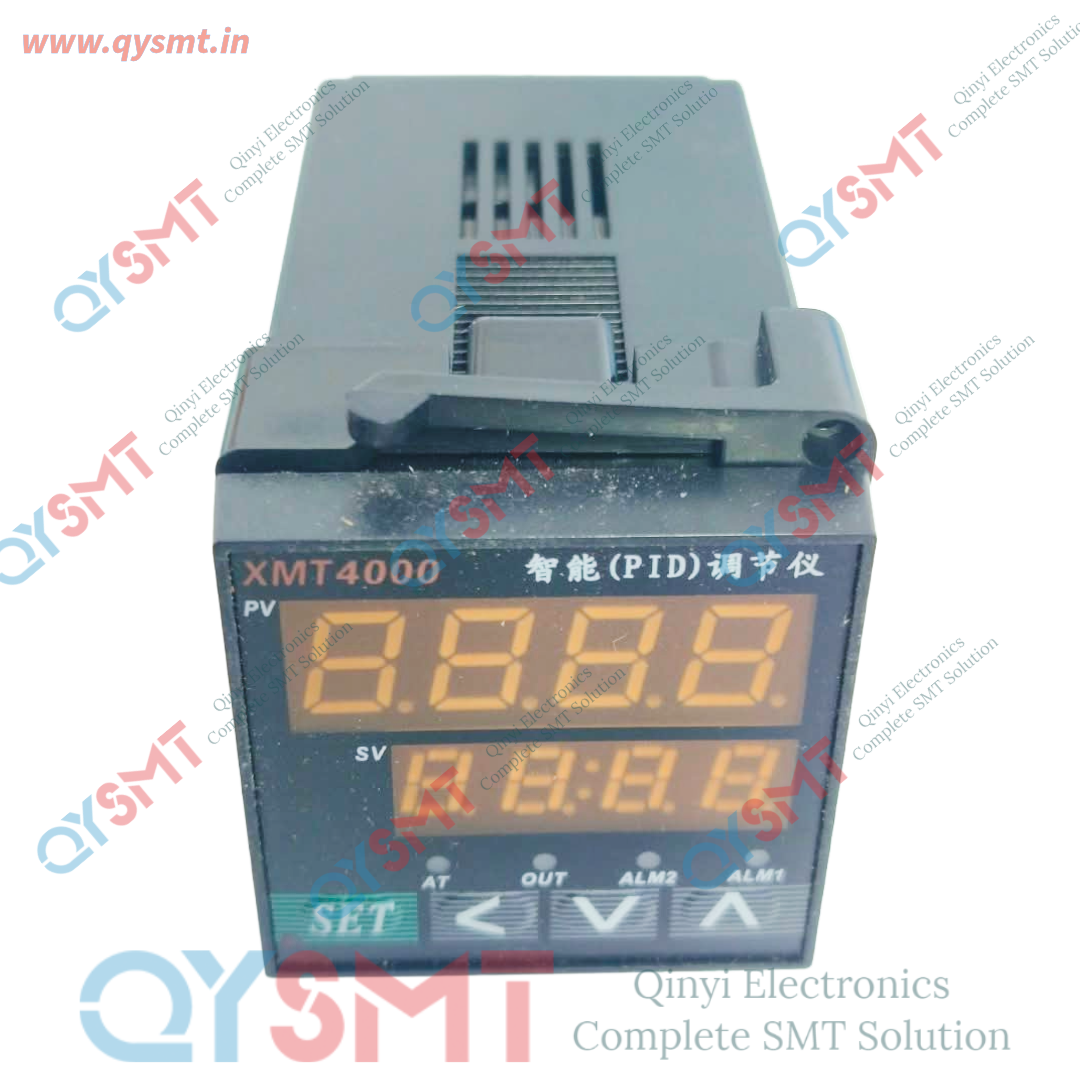
XMT4000 (XMT4-C12xK) 220V PID intelligent digital PID temperature controller
XMT4000 (XMT4-C12xK) 220V PID intelligent digital PID temperature controller
Contact Seller :- Call or Whatsapp +91 9667067377 tannu@qysmt.in
Contact Seller :- Call or Whatsapp +91 9667067377 tannu@qysmt.in
Call or Whatsapp
+91 9319902096
Email: harshita@qysmt.in
XMT4000 (XMT4-C12xK) 220V PID intelligent digital PID temperature controller
Key Technical Specifications
Series / Model: XMT4000 / XMT4-C12xK
Operating Voltage: 220V AC (50/60 Hz)
Control Modes: PID Control (with Auto-Tuning) or standard On/Off differential control.
Input Compatibility: Typically a universal input supporting standard K-type thermocouples or Pt100 RTD sensors.
Output Configuration: Model variations feature either a Relay Contact (for driving contactors directly) or a Voltage Pulse Output (specifically for triggering a Solid State Relay / SSR).
Core Wiring Layout
Always consult the diagram printed on your specific unit casing before applying power. [1]
Power Input (220V AC): Connect the Live (L) and Neutral (N) lines to the designated power supply terminals (usually terminals 1 and 2, or the labeled AC input). [1, 2]
Sensor Input: Connect your thermocouple or Pt100 sensor to the dedicated input pins. Note polarity (
+ and -) if using a thermocouple. [
Control Output:
- If wiring an SSR output, connect the positive and negative pulse lines directly to the DC input terminals of your SSR.
- If wiring a Relay output, route the Live wire through the controller's normally open (NO) relay contact to switch your heating element or external contactor load.
Basic Operation & Programming Steps
1. How to Set the Target Temperature (SV)
Briefly press the SET key. The display digit on the target Set Value (SV) row will flash.
Use the Shift (◀) key to move the cursor to the specific digit you want to change.
Use the Up (▲) and Down (▼) arrow keys to adjust the target temperature.
Press the SET key again to save and exit.
2. How to Initialize PID Auto-Tuning (AT)
Auto-tuning allows the controller to automatically test your system and program the ideal Proportional (P), Intgral (I), and Derivative (D) coefficients to prevent temperature overshoot.
Press and hold the SET (or designated shift) key for roughly 3 to 5 seconds to enter the advanced parameter menu.
Cycle through parameters until you see the
AT parameter prompt.
Change the
AT value from 0 (Off) to 1 (On).
Exit the menu. The "AT" or "TUNE" light on the front panel will flash, indicating the auto-tuning process is active.
Note: Let the system heat up and pass through a few cooling cycles. The light will stop blinking automatically once configuration completes.
To provide precise configuration steps, please let me know:
- Is your controller outputting to a Solid State Relay (SSR) or a Mechanical AC Contactor/Relay?
- What type of sensor (e.g., K-type or Pt100) are you connecting to it?


Complete SMT Solution
-

Address:-
Qinyi Electronics Pvt. Ltd.
Plot no. 48, 3rd FLOOR, PACE CITY-1, SECTOR-37 GURUGRAM, HARYANA, Pin Code - 122004
GSTIN : 06AAACQ6376N1ZW -
Contact US:-
Qinyi Electronics Pvt. Ltd.
Contact Person: Tannu Chauhan
Tel. : +91 9667067377
Email : tannu@qysmt.in
